Creating
a Virtual Linux Server
(Paul
W. 4/3/12)
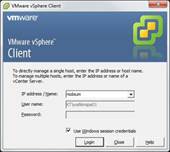
1. Open
VMware ![]()
2. Login
using your Windows credentials.
3. Right-click
on 10.222.161.102 (or 10.222.161.104) and choose “New Virtual Machine” (or
use Ctrl + N).

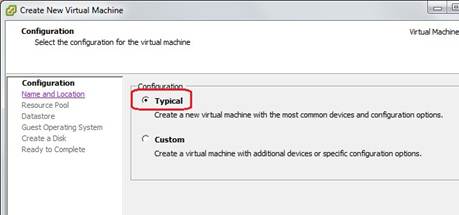
4. Check the
“Typical” configuration option if not checked already. Then click on “Next”.
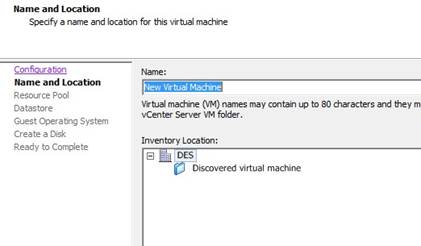
5. Name the
server per instructions. Then click on
“Next”.
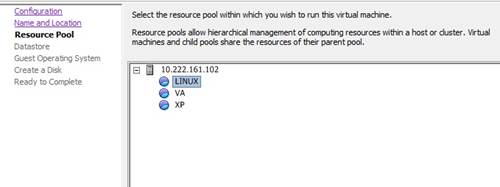
6. Choose the
“Linux” resource pool. Then click on
“Next”.
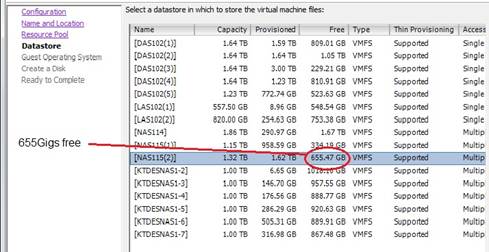
7. Pick a datastore that has lots of available space. Then click on “Next”.
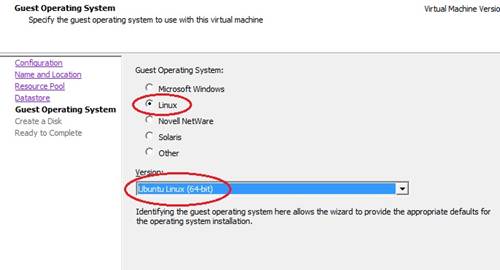
8. Pick
“Linux” as the guest OS and “Ubuntu Linux (64-bit) from the drop-down box, then
click on “Next”.
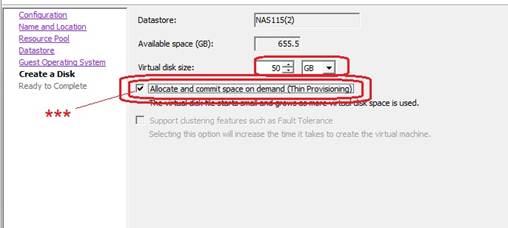
9. Make disk
size 50Gigs and BE SURE to choose the “Allocate and commit … Thin Provisioning”
option, then click on “Next”.
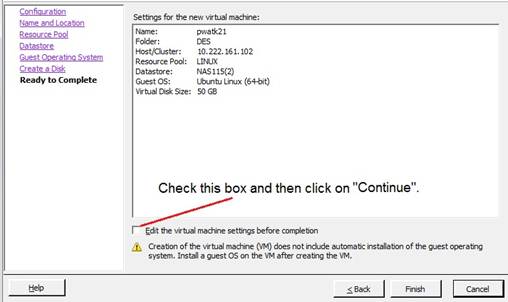
10. Check the
“Edit the virtual …” box and click on “Continue”.
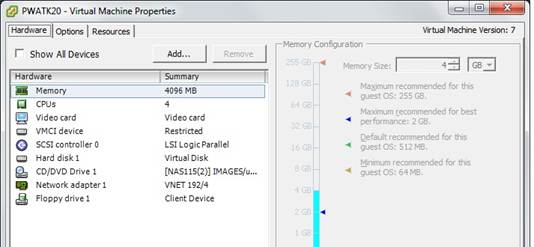
11. Set your
memory to 4Gigs, CPUs to 4, New NIC to “VNET 192/4”, and keep the rest of the
defaults per picture below.
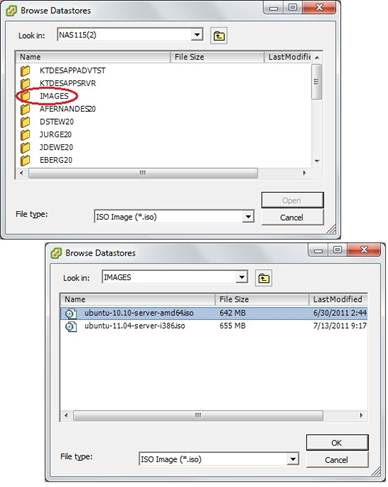
12. Now click
on the “CD/DVD Drive 1” device and check the “Datastore
ISO file” circle. Then choose the “NAS115(2)” datastore.
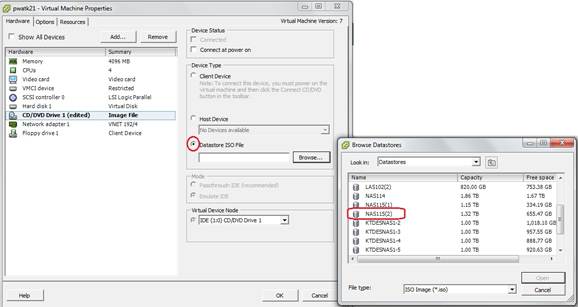
13. Open the
“IMAGES” folder and pick “Ubuntu-10.10-server-amd64.iso”. Click on “OK” and “OK” a second time. Your new Virtual Linux server is ready to
start up and install Ubuntu on.